
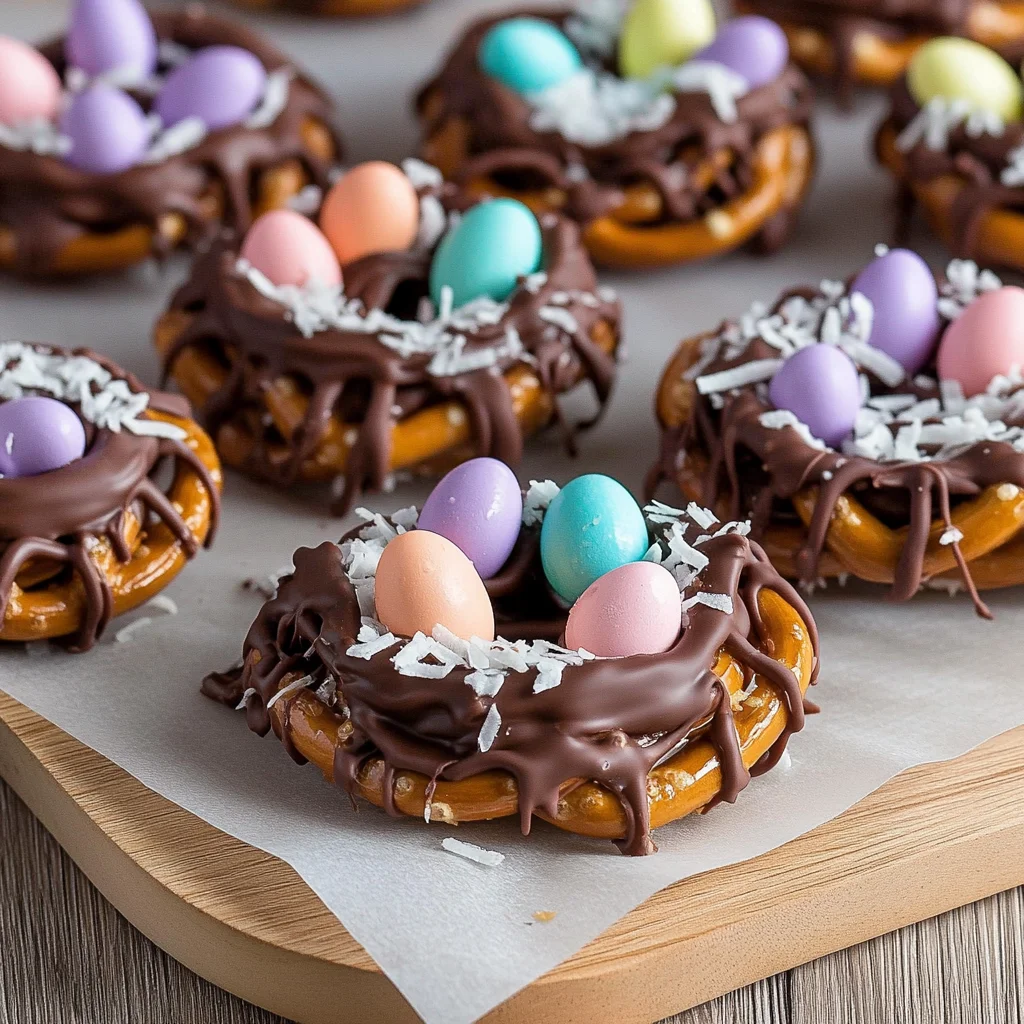
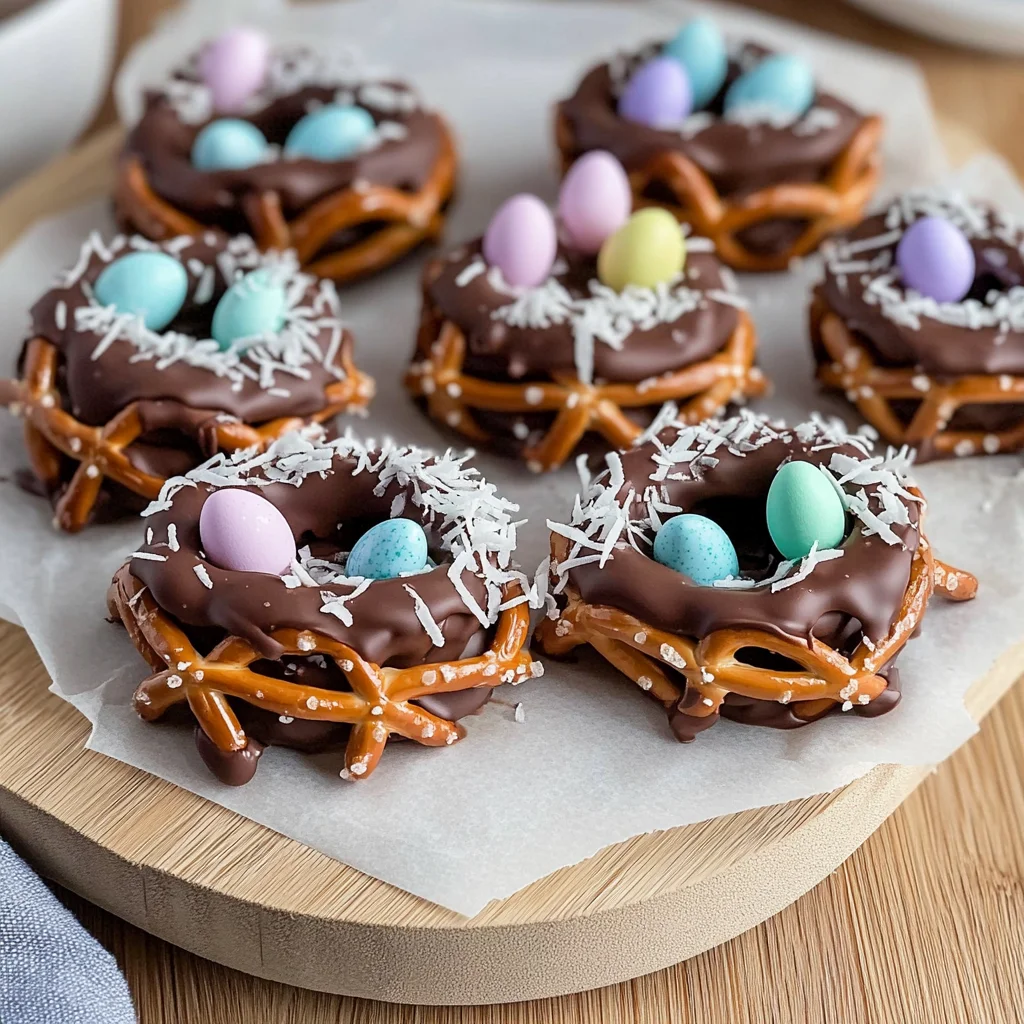
Chocolate-Covered Pretzel Nests are a delightful treat that combines the perfect mix of sweet and salty flavors. These charming little nests not only look festive but are also incredibly easy to make, making them ideal for Easter celebrations or any spring gathering. With their crunchy texture and colorful candy eggs, they’re sure to be a hit with kids and adults alike.
Why You’ll Love This Recipe
- Quick and Easy: This recipe comes together in just a few simple steps, making it perfect for last-minute gatherings.
- Fun for All Ages: Children can help shape the nests and decorate them, making this a fantastic family activity.
- Versatile Treat: You can customize your nests with different chocolates and toppings to suit your taste or theme.
- Perfect for Celebrations: These treats are not only great for Easter but can also be made for birthdays, parties, or any fun event.
- Eye-Catching Presentation: The colorful candy eggs and chocolate-covered pretzels create an attractive display that will impress your guests.
Tools and Preparation
Before you start making Chocolate-Covered Pretzel Nests, gather your tools. Having everything ready ensures a smooth preparation process.
Essential Tools and Equipment
- Microwave-safe bowl
- Baking sheet
- Parchment paper
- Mixing spoon
Importance of Each Tool
- Microwave-safe bowl: Ideal for melting chocolate easily without burning it.
- Baking sheet: Provides a flat surface to shape and chill your pretzel nests.
- Parchment paper: Prevents the nests from sticking and makes cleanup a breeze.
Ingredients
To make these delightful Chocolate-Covered Pretzel Nests, you will need the following ingredients:
For the Nests
- 4 cups pretzel sticks
- 1 ½ cups milk chocolate chips (or dark/white chocolate)
For Decoration
- 1 cup mini candy eggs (such as Cadbury eggs or jellybeans)
- ½ cup shredded coconut (optional, for a nest effect)
- Sprinkles (optional, for decoration)
How to Make Chocolate-Covered Pretzel Nests
Step 1: Melt the Chocolate
- In a microwave-safe bowl, heat chocolate chips in 20-second intervals.
- Stir between each interval until fully melted.
Step 2: Coat the Pretzels
- Add pretzel sticks to the melted chocolate.
- Toss gently to coat each pretzel evenly.
Step 3: Form the Nests
- On a lined baking sheet, take small handfuls of coated pretzels.
- Shape them into nest-like circles.
Step 4: Add Eggs and Toppings
- Place mini candy eggs in the center of each nest.
- Sprinkle with shredded coconut or sprinkles if desired.
Step 5: Chill and Set
- Refrigerate for 20-30 minutes until the chocolate hardens.
- Serve and enjoy your delicious Chocolate-Covered Pretzel Nests!
How to Serve Chocolate-Covered Pretzel Nests
Chocolate-Covered Pretzel Nests are delightful treats that can be served in various fun ways. Whether for a festive gathering or a casual snack, these nests can be presented to enhance their charm and appeal.
Festive Platter
- Arrange the nests on a colorful platter for an eye-catching display at parties or family gatherings.
Individual Treat Bags
- Place each nest in small, clear treat bags tied with pastel ribbons. This makes for charming party favors or treats for kids.
Dessert Table Centerpiece
- Use the nests as part of a larger dessert table setup. Combine them with other Easter-themed sweets for a cohesive look.
Picnic Treats
- Pack the nests in a picnic basket alongside fresh fruit and drinks. They make a sweet addition to outdoor summer activities.
Movie Night Snack
- Serve the pretzel nests in popcorn boxes during movie nights. They provide a fun twist on traditional movie snacks.
How to Perfect Chocolate-Covered Pretzel Nests
Creating perfectly delightful Chocolate-Covered Pretzel Nests is simple with a few tips. These will help ensure your treats come out looking and tasting great.
- Choose Quality Chocolate: Using high-quality chocolate chips enhances the flavor and smoothness of your coating.
- Keep Pretzels Dry: Ensure your pretzels are dry before dipping them in chocolate. Moisture can prevent proper coating.
- Work Quickly: Once the chocolate is melted, work quickly to coat the pretzels before it begins to harden.
- Use Parchment Paper: Lining your baking sheet with parchment paper makes it easy to remove the nests once they’ve set.
- Customize Toppings: Get creative with toppings like colored sprinkles or edible glitter for added fun and visual appeal.
Best Side Dishes for Chocolate-Covered Pretzel Nests
Pairing side dishes with Chocolate-Covered Pretzel Nests enhances your spread and creates a balanced treat experience. Here are some great options:
- Fruit Salad
A mix of fresh fruits adds brightness and complements the sweetness of the nests beautifully. - Veggie Platter
Crisp vegetables like carrots, cucumbers, and bell peppers served with a dip provide a refreshing contrast to sugary treats. - Cheese Board
A selection of cheeses pairs well with pretzels, creating a savory balance alongside your sweet treats. - Popcorn Mix
A blend of popcorn seasoned with herbs or spices offers a crunchy alternative that children and adults love alike. - Mini Sandwiches
Small sandwiches filled with chicken or turkey are filling yet light enough not to overshadow the sweetness of the nests. - Chocolate-Dipped Fruit
Offering strawberries or bananas dipped in chocolate echoes the flavors of your pretzel nests while providing a healthier option.
Common Mistakes to Avoid
When making Chocolate-Covered Pretzel Nests, it’s easy to run into some common pitfalls. Here are a few mistakes to avoid for the best results.
- Bold phrase: Not melting chocolate properly. Make sure to melt the chocolate in short intervals and stir frequently to prevent burning.
- Bold phrase: Overcoating pretzels. Coat the pretzels just enough to ensure they are covered without excess chocolate pooling underneath.
- Bold phrase: Forgetting the nest shape. When forming nests, ensure you create enough space in the center for the candy eggs by shaping them carefully.
- Bold phrase: Skipping refrigeration. Allowing the nests to chill is crucial for setting the chocolate; don’t skip this step for a firmer texture.
- Bold phrase: Not adding decorations. Enhance your nests with coconut or sprinkles; these details add both flavor and visual appeal.
Storage & Reheating Instructions
Refrigerator Storage
- Store in an airtight container.
- Keep in the refrigerator for up to 1 week.
Freezing Chocolate-Covered Pretzel Nests
- Place nests in a single layer on a baking sheet before freezing.
- Transfer to an airtight container and freeze for up to 3 months.
Reheating Chocolate-Covered Pretzel Nests
- Oven: Preheat your oven to 300°F (150°C) and warm nests for about 5 minutes just until they soften slightly.
- Microwave: Heat on low power in 10-second intervals; be cautious not to melt them completely.
- Stovetop: Use a double boiler with water simmering gently beneath; briefly warm while stirring gently.
Frequently Asked Questions
Here are some common inquiries regarding Chocolate-Covered Pretzel Nests.
What can I use instead of coconut?
You can use crushed nuts, additional sprinkles, or simply leave them plain if preferred.
How do I customize my Chocolate-Covered Pretzel Nests?
Feel free to mix different types of chocolate, use various candies, or add unique toppings like mini marshmallows or dried fruit.
Can I make these nests ahead of time?
Yes! You can prepare them a few days in advance and store them properly as described above.
Are Chocolate-Covered Pretzel Nests suitable for parties?
Absolutely! They are fun, festive treats that are perfect for gatherings and celebrations.
Final Thoughts
Chocolate-Covered Pretzel Nests are not only delightful but also versatile. With their sweet-salty combination and creative presentation, they’re sure to impress at any event. Feel free to customize them with your favorite candies and toppings!

Chocolate-Covered Pretzel Nests
- Total Time: 45 minutes
- Yield: Approximately 12 nests 1x
Description
Indulge in the delightful world of Chocolate-Covered Pretzel Nests, where sweet meets salty in a fun and festive treat! These charming nests are not only visually appealing with their colorful candy eggs but also incredibly easy to make, making them perfect for any spring celebration or family gathering. With a crunchy texture and customizable toppings, they’re sure to be a hit among kids and adults alike. Gather your loved ones for a fun-filled kitchen activity as you shape and decorate these delicious goodies!
Ingredients
- 4 cups pretzel sticks
- 1 ½ cups milk chocolate chips (or dark/white chocolate)
- 1 cup mini candy eggs
- ½ cup shredded coconut (optional)
- Sprinkles (optional)
Instructions
- Melt the chocolate chips in a microwave-safe bowl, heating in 20-second intervals and stirring until smooth.
- Add pretzel sticks to the melted chocolate and toss to coat evenly.
- On a lined baking sheet, take small handfuls of coated pretzels and shape them into nest-like circles.
- Place mini candy eggs in the center of each nest, adding shredded coconut or sprinkles if desired.
- Refrigerate for 20-30 minutes or until the chocolate has set.
- Prep Time: 15 minutes
- Cook Time: 30 minutes
- Category: Dessert
- Method: No-bake
- Cuisine: American
Nutrition
- Serving Size: 1 serving
- Calories: 140
- Sugar: 10g
- Sodium: 75mg
- Fat: 6g
- Saturated Fat: 4g
- Unsaturated Fat: 2g
- Trans Fat: 0g
- Carbohydrates: 20g
- Fiber: 1g
- Protein: 2g
- Cholesterol: 0mg