
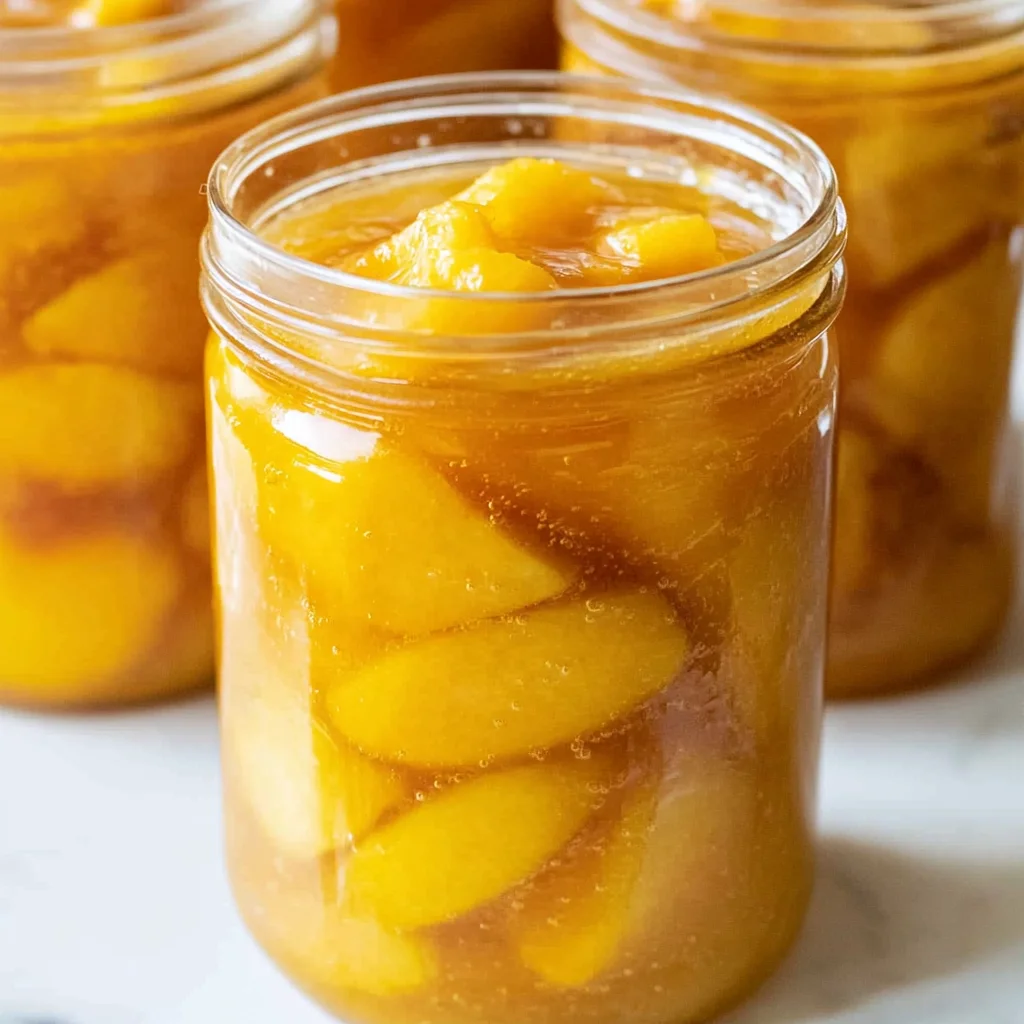
This homemade canned peach pie filling is a delightful blend of sweetness and spice, perfect for any occasion. With its thick, silky texture, this preserve allows you to enjoy the taste of fresh peaches all year round. Whether you’re baking a pie, making a crisp, or preparing a cobbler, this versatile filling is sure to impress your friends and family. The easy water bath canning method makes it simple to preserve summer’s flavors even in winter months.
Why You’ll Love This Recipe
- Easy to Make: This recipe features straightforward steps that anyone can follow.
- Flavorful: Fresh peaches combined with spices create a deliciously sweet and aromatic filling.
- Versatile Uses: Use it in pies, crisps, or as a topping for yogurt and ice cream.
- Long Shelf Life: Properly canned, it can last up to a year—perfect for enjoying summer flavors all year round.
- Healthy Choice: Made with natural ingredients, this filling is free from preservatives and artificial additives.
Tools and Preparation
Before diving into the recipe, gather all your tools to ensure a smooth cooking process. Using the right equipment will help achieve the best results when canning your peach pie filling.
Essential Tools and Equipment
- Canning jars (quart-size)
- Water bath canner
- Large pot
- Ladle
- Funnel
- Ice bath container
Importance of Each Tool
- Canning jars: Essential for storing your peach pie filling safely; they protect against spoilage.
- Water bath canner: Provides an even heat source for processing jars, ensuring safe preservation.
- Ladle: Helps in pouring hot mixture into jars without spills.
- Funnel: Makes filling jars easier while preventing messes.
Ingredients
This homemade canned peach pie filling is a sweet, spiced preserve made with fresh peaches and a thick, silky base—perfect for baking pies, crisps, or cobblers year-round. With this easy water bath canning method, you can enjoy the flavor of summer peaches even in winter.
Ingredients (for 4–5 quarts)
* 6 quarts fresh peaches, peeled, pitted, and sliced (about 24–30 medium peaches)
* 7 cups granulated sugar
* 2 cups cold water
* 1¾ cups clear jel (cook-type, not instant)
* 5¼ cups peach juice or water (from peaches or bottled)
* ½ cup bottled lemon juice
* 1½ teaspoons ground cinnamon (optional)
* ½ teaspoon ground nutmeg (optional)
How to Make Homemade Canned Peach Pie Filling
Step 1: Prepare Jars
Wash and sterilize 4–5 quart-size canning jars. Keep them warm until you are ready to fill them.
Step 2: Prepare Peaches
Blanch peaches in boiling water for 30–60 seconds to loosen their skins, then transfer them to an ice bath. Peel, pit, and slice the peaches. To prevent browning, soak slices in water mixed with lemon juice or ascorbic acid.
Step 3: Blanch Slices
Boil sliced peaches in batches for about 1 minute. Drain them and keep warm until needed.
Step 4: Make Filling Base
In a large pot, whisk together the sugar and clear jel. Gradually stir in 2 cups of cold water along with 5¼ cups of peach juice (or water). Cook over medium-high heat while stirring constantly until the mixture thickens and starts bubbling.
Step 5: Add Lemon Juice and Spices
Stir in the bottled lemon juice along with cinnamon and nutmeg if desired. Allow it to boil for an additional minute.
Step 6: Add Peaches
Fold in the warm peach slices gently and return the mixture to a boil while stirring carefully.
Step 7: Fill Jars
Using a ladle, fill the warm jars with the hot peach mixture while leaving about 1 inch of headspace at the top. Remove any air bubbles by running a clean knife around the inside edges of each jar. Wipe rims clean before sealing with lids and bands.
Step 8: Process Jars
Place filled jars into a boiling water bath canner. Process them for 30 minutes; adjust time based on altitude if necessary.
Step 9: Cool and Store
Let jars sit undisturbed for about 12–24 hours after processing. Check seals by pressing down on center lids; they should not pop back. Label your jars and store them in a cool, dark place where they’ll keep well for up to one year.
How to Serve Homemade Canned Peach Pie Filling
Homemade canned peach pie filling is a versatile treat that brings the taste of summer to your table any time of year. Here are some delicious ways to enjoy it.
Classic Peach Pie
- Use this filling as the star ingredient in a traditional peach pie. Just pour it into a prepared pie crust, add a top crust, and bake until golden brown.
Peach Crisp or Crumble
- Pour the filling into a baking dish and top with a mixture of oats, flour, butter, and brown sugar. Bake until bubbly for a warm dessert.
Peach Cobblers
- Spoon the filling into individual ramekins or a large baking dish topped with biscuit dough. Bake until the biscuits are fluffy and golden.
Over Ice Cream
- Serve warm peach pie filling over vanilla or almond-flavored ice cream for an easy and delightful dessert.
Pancake Topping
- Drizzle the filling on top of pancakes or waffles for a fruity breakfast twist that everyone will love.
Yogurt Parfaits
- Layer homemade peach pie filling with yogurt and granola for a refreshing snack or breakfast option.
How to Perfect Homemade Canned Peach Pie Filling
To ensure that your homemade canned peach pie filling turns out perfectly every time, keep these tips in mind.
- Choose ripe peaches: Select peaches that are firm yet slightly soft to the touch for the best flavor and texture.
- Use Clear Jel: Always use cook-type Clear Jel for thickening as it is safe for canning and will prevent spoilage.
- Pre-measure ingredients: Gather all ingredients beforehand to streamline the cooking process and ensure you don’t miss anything.
- Maintain proper acidity: Add bottled lemon juice as specified in the recipe to ensure safety during canning.
- Check seal after processing: Once cooled, check that each jar has sealed properly before storing them away.
- Store correctly: Keep your sealed jars in a cool, dark place to maintain freshness up to one year.
Best Side Dishes for Homemade Canned Peach Pie Filling
Pairing side dishes with your homemade canned peach pie filling can elevate your meal. Here are some great options to consider.
- Vanilla Ice Cream: A classic pairing that complements the sweetness of peaches perfectly.
- Savory Biscuit Rolls: Flaky biscuits balance sweet fillings beautifully; serve them warm alongside.
- Roasted Chicken Thighs: Juicy chicken enhances flavors when served with sweet peach fillings.
- Green Salad with Feta: The tanginess of feta cheese contrasts well with sweet peach desserts.
- Grilled Vegetables: The smoky flavors from grilled veggies provide a tasty contrast to sweet dishes.
- Cornbread Muffins: Sweet cornbread pairs wonderfully with peach desserts, adding texture and flavor.
Common Mistakes to Avoid
When making homemade canned peach pie filling, it’s easy to make a few common errors. Here are some mistakes to watch out for:
- Skipping jar sterilization: Not properly sterilizing jars can lead to spoilage. Always wash and sterilize your canning jars before use.
- Incorrect ingredient measurements: Using too much or too little of any ingredient can affect the texture and taste. Measure carefully, especially with sugar and Clear Jel.
- Ignoring headspace: Failing to leave enough headspace in jars can cause overflow during processing. Ensure you leave at least 1 inch of headspace.
- Not adjusting for altitude: If you live at a higher altitude, processing times may need adjustment. Check altitude-specific guidelines for safe canning.
- Using instant Clear Jel: Instant Clear Jel is not safe for canning applications. Always choose cook-type Clear Jel for this recipe.
Storage & Reheating Instructions
Refrigerator Storage
- Store opened jars in the refrigerator.
- Use within 1 week for best quality.
Freezing Homemade Canned Peach Pie Filling
- Transfer filling to airtight containers or freezer bags.
- Freeze for up to 1 year for optimal flavor.
Reheating Homemade Canned Peach Pie Filling
- Oven: Preheat to 350°F (175°C), place filling in a baking dish covered with foil, and heat until warm.
- Microwave: Heat in short intervals, stirring in between until heated through.
- Stovetop: Warm gently over medium heat in a saucepan, stirring occasionally.
Frequently Asked Questions
Here are some frequently asked questions about homemade canned peach pie filling:
What is the best way to peel peaches?
To easily peel peaches, blanch them in boiling water for 30-60 seconds followed by an ice bath. This method loosens the skin for easy removal.
Can I use frozen peaches?
Yes, you can use frozen peaches, but make sure they are thawed and drained before adding them to the filling mixture.
How long does homemade canned peach pie filling last?
When stored properly, it can last up to 1 year when processed correctly and kept in a cool, dark place.
Can I customize my homemade canned peach pie filling?
Absolutely! You can add other spices like ginger or cloves or mix in different fruits like berries for a unique twist.
Why do I need bottled lemon juice?
Bottled lemon juice provides a consistent acidity level that is crucial for safe canning practices.
Final Thoughts
This homemade canned peach pie filling is not only delicious but also incredibly versatile. Whether you’re baking pies, making crisps, or adding it to cobblers, this recipe captures the essence of summer all year round. Feel free to customize it with your favorite spices or fruits. Enjoy creating delightful desserts with your homemade filling!

Homemade Canned Peach Pie Filling
- Total Time: 1 hour 15 minutes
- Yield: Approximately 10 servings (4–5 quarts) 1x
Description
Homemade Canned Peach Pie Filling is a delightful way to savor the flavors of summer all year round. This sweet and spiced preserve is made from fresh peaches, creating a thick, luscious filling that’s perfect for pies, crisps, and cobblers. With simple ingredients and an easy water bath canning method, you can enjoy the taste of juicy peaches even in the coldest months. Whether you’re baking for a special occasion or just treating yourself, this versatile filling will impress your family and friends alike.
Ingredients
- 6 quarts fresh peaches, peeled, pitted, sliced
- 7 cups granulated sugar
- 2 cups cold water
- 1¾ cups clear jel (cook-type)
- 5¼ cups peach juice or water
- ½ cup bottled lemon juice
- Optional: 1½ teaspoons ground cinnamon
- Optional: ½ teaspoon ground nutmeg
Instructions
- Prepare jars by washing and sterilizing them. Keep warm.
- Blanch peaches in boiling water for 30–60 seconds; transfer to an ice bath. Peel, pit, and slice.
- Boil peach slices for about 1 minute; keep warm.
- In a large pot, whisk together sugar and clear jel. Gradually add cold water and peach juice. Cook over medium-high heat until thickened.
- Stir in lemon juice and optional spices; boil for an additional minute.
- Fold in warm peach slices and return mixture to a boil.
- Fill jars with the hot mixture, leaving 1 inch of headspace. Remove air bubbles and seal jars with lids.
- Process jars in a boiling water bath for 30 minutes; adjust time based on altitude.
- Prep Time: 30 minutes
- Cook Time: 45 minutes
- Category: Dessert
- Method: Canning
- Cuisine: American
Nutrition
- Serving Size: 1/2 cup (125g)
- Calories: 230
- Sugar: 54g
- Sodium: 15mg
- Fat: 0g
- Saturated Fat: 0g
- Unsaturated Fat: 0g
- Trans Fat: 0g
- Carbohydrates: 59g
- Fiber: 2g
- Protein: <1g
- Cholesterol: 0mg