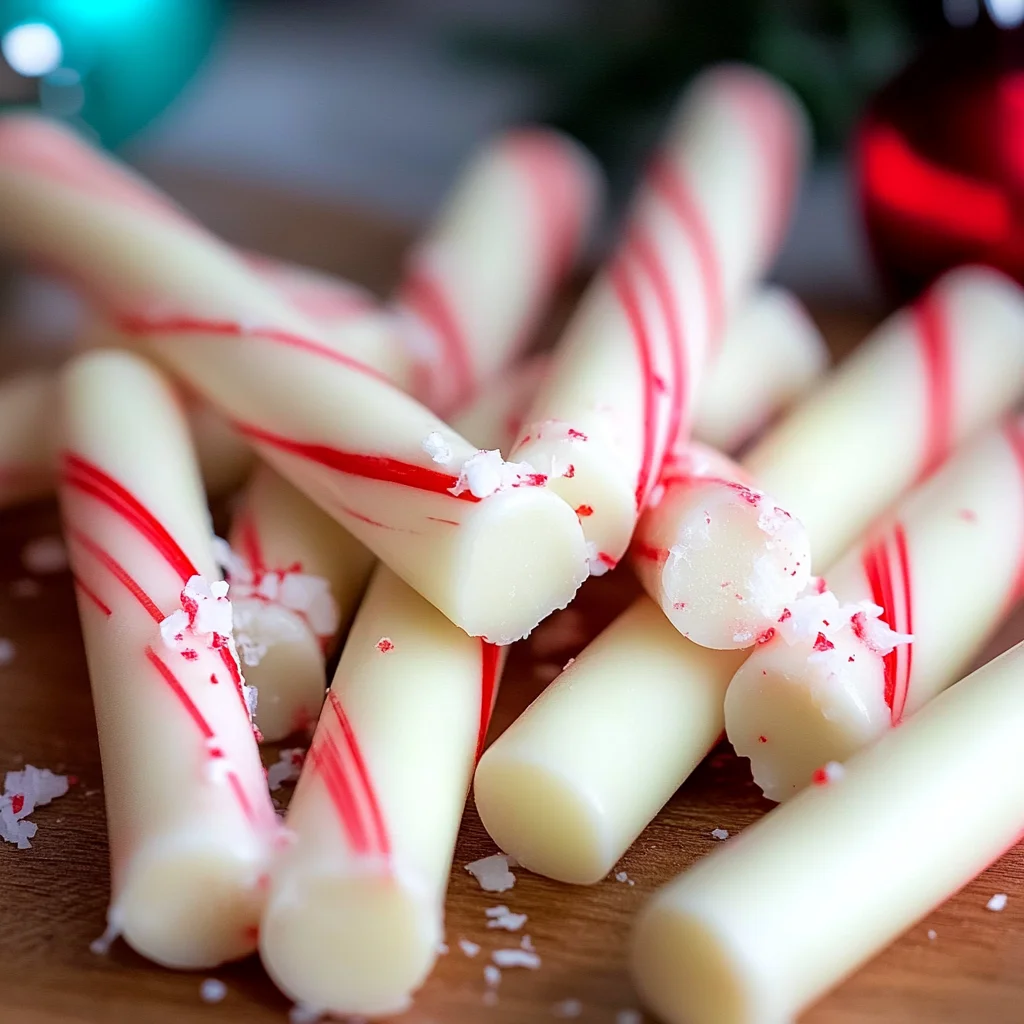
Homemade Christmas Peppermint Sticks are the perfect festive treat to bring joy and flavor to your holiday celebrations. These delightful candies combine the classic taste of peppermint with creamy white chocolate, making them a hit for gift-giving, decorating your holiday table, or simply indulging during cozy winter evenings. Easy to prepare and visually appealing, these sticks will surely become a cherished tradition in your home.
Why You’ll Love This Recipe
- Quick and Easy: With just a few simple ingredients, you can whip up these treats in no time.
- Customizable Flavors: Feel free to add different extracts or toppings for a unique twist!
- Great for Gifting: Wrapped beautifully, they make fantastic homemade gifts for friends and family.
- Festive Presentation: Their striking appearance adds a cheerful touch to any holiday gathering.
- Kid-Friendly Fun: Involve the little ones in making these peppermint sticks for a fun activity.
Tools and Preparation
To create your Homemade Christmas Peppermint Sticks, you’ll need some essential tools. Having the right equipment makes the process smoother and more enjoyable.
Essential Tools and Equipment
- Double boiler or microwave-safe bowl
- Mixing spoon
- Baking sheet
- Parchment paper
Importance of Each Tool
- Double boiler or microwave-safe bowl: This tool helps melt the chocolate evenly without burning it.
- Mixing spoon: A sturdy spoon ensures that all ingredients are well combined.
- Baking sheet: It provides a flat surface for cooling the peppermint sticks.
- Parchment paper: Lining your baking sheet prevents sticking and makes cleanup easy.
Ingredients
For the Peppermint Sticks
- 1 package of candy canes (12 pieces)
- 12 ounces of white chocolate
- 1 teaspoon peppermint essence
Servings: 4
Prep Time: 10 minutes
Cook Time: 10 minutes
Total Time: 70 minutes
How to Make Homemade Christmas Peppermint Sticks
Step 1: Prepare Your Workspace
Ensure that your kitchen is clean and you have all tools and ingredients ready before you begin. This makes the process more efficient.
Step 2: Melt the White Chocolate
- Use a double boiler or microwave-safe bowl to melt the white chocolate until smooth.
- Stir frequently to prevent scorching. If using a microwave, heat in short intervals (15-20 seconds) until melted.
Step 3: Add Peppermint Essence
Once melted, remove the chocolate from heat and stir in the peppermint essence. Mix well to ensure even flavor distribution.
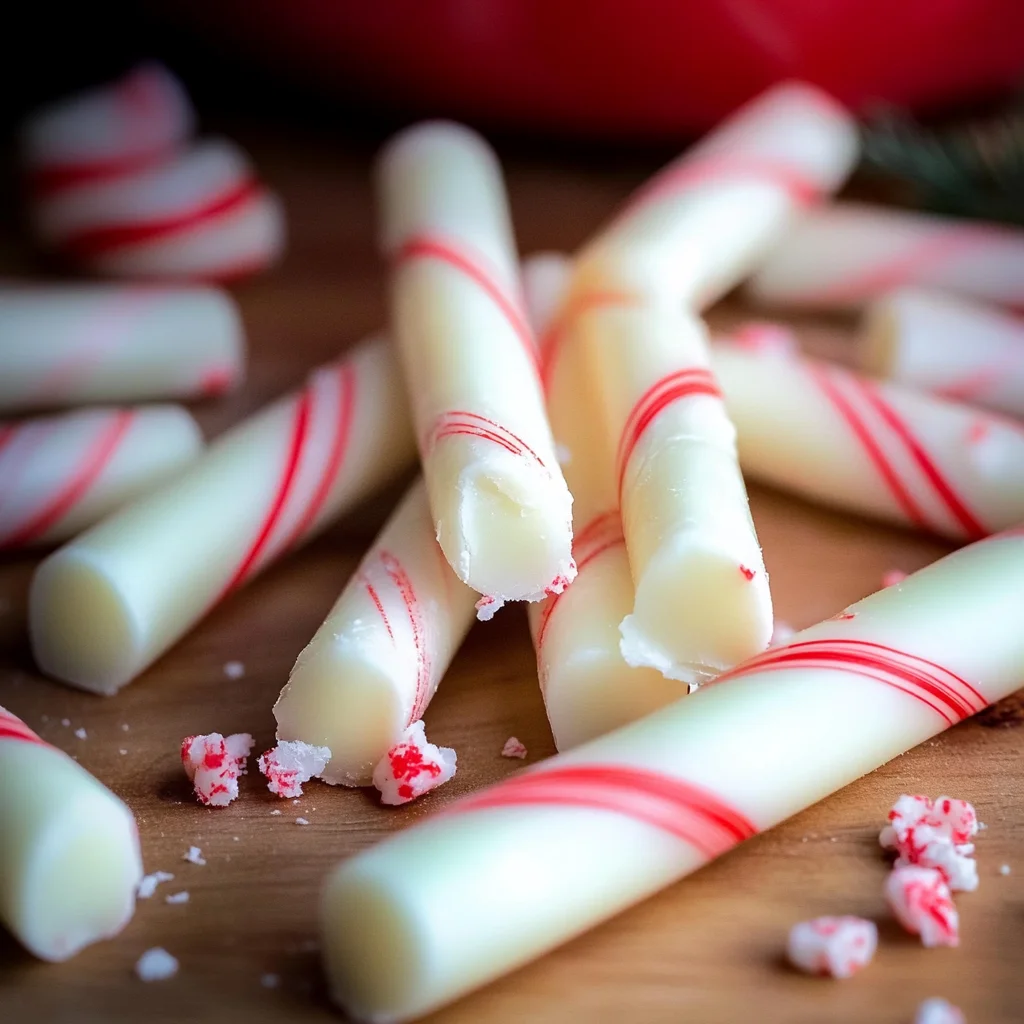
Step 4: Crush Candy Canes
While the chocolate cools slightly, place candy canes in a bag and crush them into small pieces using a rolling pin or mallet. Be cautious not to make them too fine.
Step 5: Dip Candy Canes
- Dip each candy cane into the melted white chocolate, ensuring it’s coated well.
- Allow excess chocolate to drip off before placing them on the parchment-lined baking sheet.
Step 6: Sprinkle Crushed Candy Canes
While the chocolate is still wet, sprinkle crushed candy canes over each dipped stick for added texture and flavor.
Step 7: Let Them Set
Allow the chocolate-covered candy canes to cool at room temperature for about an hour until completely set. For quicker results, you can place them in the refrigerator for about 20 minutes.
Enjoy your Homemade Christmas Peppermint Sticks as a delightful treat during this festive season!
How to Serve Homemade Christmas Peppermint Sticks
Homemade Christmas Peppermint Sticks are not just a treat; they can also enhance your festive gatherings. Here are some delightful serving suggestions to impress your guests.
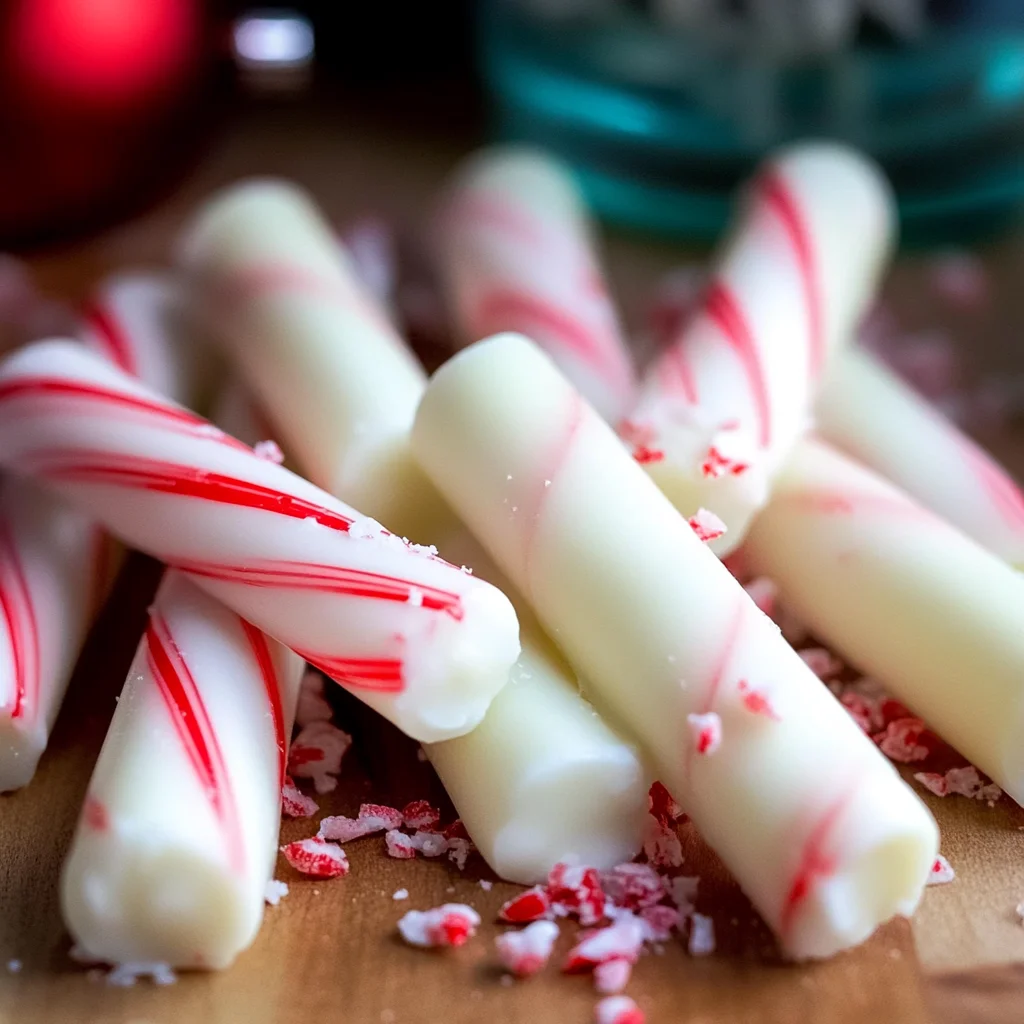
On a Festive Platter
- Arrange the peppermint sticks on a colorful platter, adding some seasonal decorations like holly or pinecones for a cheerful touch.
As Gifts
- Wrap individual peppermint sticks in clear cellophane and tie with a red ribbon. This makes for a charming homemade gift for friends and family.
With Hot Chocolate
- Serve alongside mugs of hot chocolate. The peppermint flavor complements the warmth of the drink beautifully, creating a cozy experience.
In Desserts
- Use them as a topping for cakes or cupcakes. Crushed peppermint sticks add both flavor and visual appeal to your baked goods.
How to Perfect Homemade Christmas Peppermint Sticks
Creating perfect Homemade Christmas Peppermint Sticks is easy with these helpful tips. Follow these suggestions to ensure your treats turn out wonderfully every time.
- Use Quality Chocolate: Choose high-quality white chocolate for better melting and flavor. This will enhance the overall taste of your peppermint sticks.
- Chill Properly: Allow the chocolate-coated sticks to chill completely in the refrigerator. This ensures they set properly and maintain their shape.
- Add Texture: For an extra crunch, sprinkle some crushed candy canes on top before the chocolate sets. It adds texture and enhances the peppermint taste.
- Be Gentle: When breaking up candy canes, do so gently to avoid flying pieces everywhere. A zip-top bag and rolling pin work well for this task.
Best Side Dishes for Homemade Christmas Peppermint Sticks
Pairing side dishes with your Homemade Christmas Peppermint Sticks can create a delightful spread. Here are some tasty options that complement their sweet flavor.
- Cheese Platter: A variety of cheeses such as brie, cheddar, and gouda pairs well with sweet treats, offering a nice contrast in flavors.
- Fruit Salad: A refreshing mix of seasonal fruits like oranges, apples, and berries can balance the sweetness of the peppermint sticks.
- Spiced Nuts: Roasted nuts seasoned with cinnamon and nutmeg provide a crunchy snack that harmonizes well with holiday flavors.
- Mini Cupcakes: Light vanilla or chocolate mini cupcakes topped with whipped cream make for an adorable dessert option alongside peppermint sticks.
- Gingerbread Cookies: These spiced cookies are classic holiday treats that complement the minty flavors of your homemade candy perfectly.
- Chocolate-Covered Pretzels: The salty-sweet combination from chocolate-covered pretzels adds another layer of flavor to your dessert table while being fun to eat!
Common Mistakes to Avoid
Creating Homemade Christmas Peppermint Sticks can be a delightful experience, but there are some common pitfalls to watch out for.
- Not using quality chocolate: Using lower quality chocolate can affect the taste. Choose good-quality white chocolate for the best flavor.
- Skipping the peppermint essence: Omitting peppermint essence results in a lack of that signature flavor. Always include it for authentic peppermint sticks.
- Overheating the chocolate: Overheating can cause the chocolate to seize. Melt it slowly over low heat or use a microwave in short intervals.
- Ignoring cooling time: Skipping the cooling step can lead to sticky, messy sticks. Allow them to cool completely before enjoying or packaging.
- Improper storage: Not storing them correctly can lead to melting or spoilage. Store in an airtight container in a cool, dry place.
Storage & Reheating Instructions
Refrigerator Storage
- Store your Homemade Christmas Peppermint Sticks in an airtight container.
- They will stay fresh for up to two weeks in the refrigerator.
Freezing Homemade Christmas Peppermint Sticks
- Wrap each stick individually in plastic wrap before placing them in a freezer-safe bag.
- They can last up to three months when frozen.
Reheating Homemade Christmas Peppermint Sticks
- Oven: Preheat your oven to 200°F (93°C). Place sticks on a baking sheet and warm for about 5 minutes.
- Microwave: Heat on low power for 10-15 seconds at a time until just warmed through.
- Stovetop: Use a double boiler and gently warm the sticks, ensuring they don’t melt completely.
Frequently Asked Questions
Here are some common questions about making Homemade Christmas Peppermint Sticks.
Can I use dark chocolate instead?
Yes, you can use dark chocolate if you prefer a richer flavor, but remember that it will alter the overall taste of your peppermint sticks.
How do I customize my Homemade Christmas Peppermint Sticks?
Feel free to add crushed nuts, sprinkles, or different extracts like vanilla or almond for unique flavors!
What is the best way to package these as gifts?
Consider using clear bags tied with festive ribbons. You could also use decorative boxes for a more elegant presentation.
How long do Homemade Christmas Peppermint Sticks last?
When stored properly, they can last up to two weeks in the refrigerator and three months if frozen.
Final Thoughts
Homemade Christmas Peppermint Sticks are not only delicious but also versatile! Feel free to experiment with flavors and coatings to make them your own. Encourage friends and family to try this fun and festive recipe during the holiday season!

Homemade Christmas Peppermint Sticks
- Total Time: 20 minutes
- Yield: 12 servings 1x
Description
Homemade Christmas Peppermint Sticks are a delightful way to spread holiday cheer! These sweet and refreshing treats combine the classic flavor of peppermint with creamy white chocolate, making them perfect for gift-giving, festive decorations, or enjoying by the fire. Easy to make and visually stunning, these peppermint sticks will surely become a beloved tradition in your home. With just a few simple ingredients, you can create a batch that will impress family and friends alike.
Ingredients
- 1 package of candy canes (12 pieces)
- 12 ounces of white chocolate
- 1 teaspoon peppermint essence
Instructions
- Prepare your workspace by gathering all tools and ingredients.
- Melt the white chocolate using a double boiler or microwave-safe bowl until smooth.
- Stir in the peppermint essence until well combined.
- Crush the candy canes into small pieces.
- Dip each candy cane into the melted white chocolate, allowing excess to drip off.
- Sprinkle crushed candy canes over the coated sticks while still wet.
- Let them set at room temperature for about an hour or refrigerate for 20 minutes.
- Prep Time: 10 minutes
- Cook Time: 10 minutes
- Category: Dessert
- Method: No bake
- Cuisine: American
Nutrition
- Serving Size: 1 stick (15g)
- Calories: 70
- Sugar: 9g
- Sodium: 0mg
- Fat: 4g
- Saturated Fat: 2g
- Unsaturated Fat: 2g
- Trans Fat: 0g
- Carbohydrates: 8g
- Fiber: 0g
- Protein: 0g
- Cholesterol: 0mg