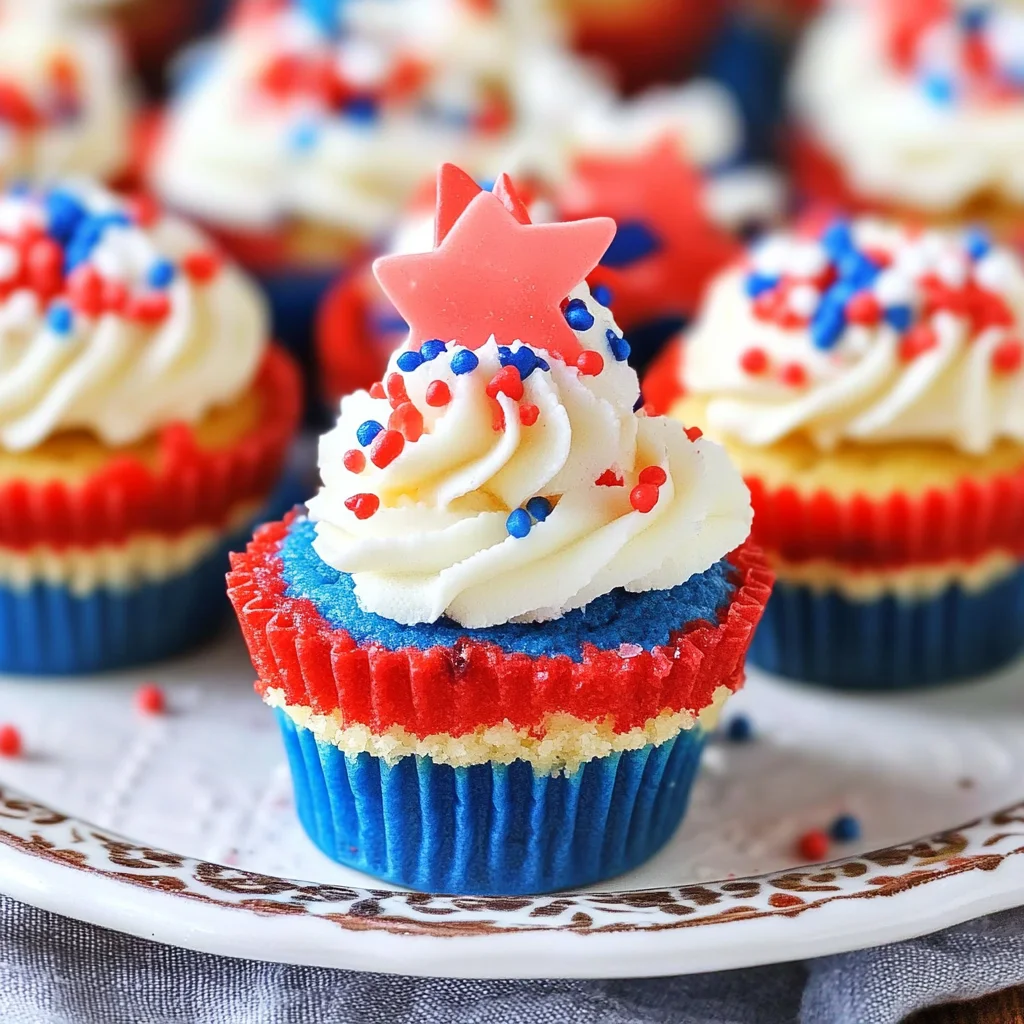
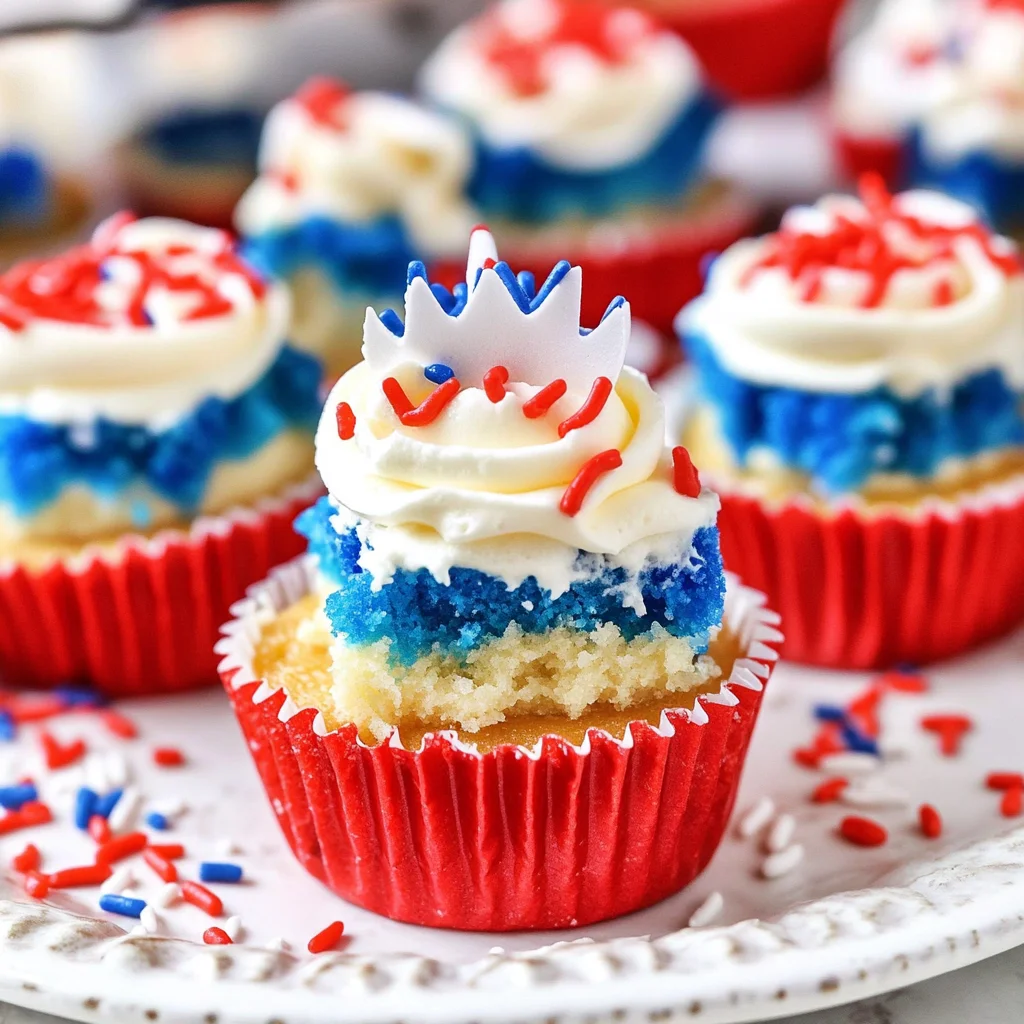
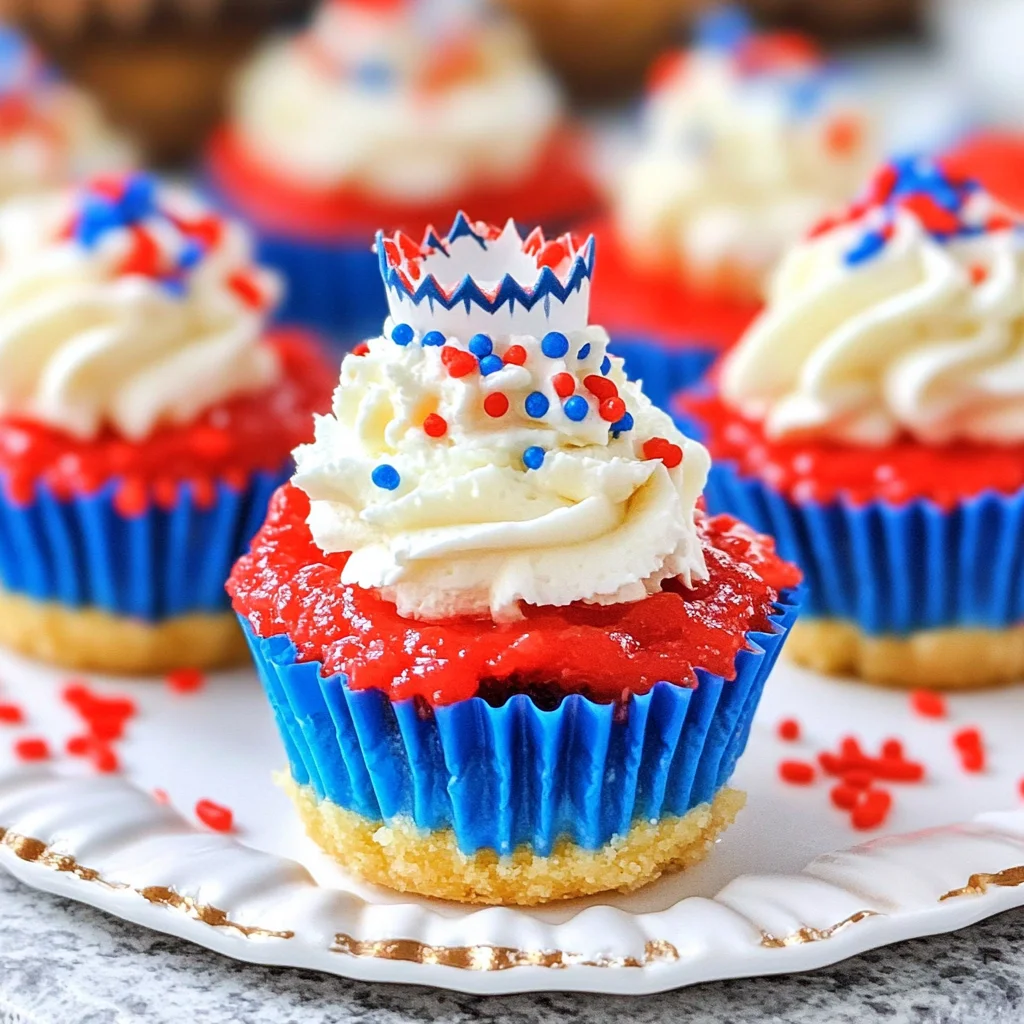
These Red, White and Blue Mini Cheesecakes are a delightful treat that combines creamy cheesecake with vibrant colors, making them perfect for celebrations like the 4th of July or any festive gathering. Their individual portions make serving easy, and they are sure to impress your guests with their beautiful layers and delicious taste. Plus, these mini cheesecakes are simple to prepare, allowing you to focus on enjoying the occasion.
Why You’ll Love This Recipe
- Easy to Make: With straightforward steps, even beginners can whip up these delicious mini cheesecakes.
- Visually Stunning: The layered colors create an eye-catching dessert that is perfect for patriotic events.
- Versatile Serving Options: Ideal for parties, picnics, or any celebration where dessert is a must.
- Creamy Texture: The smooth filling makes each bite rich and satisfying.
- Make Ahead: These cheesecakes can be prepared in advance and stored in the refrigerator until you’re ready to serve.
Tools and Preparation
To make your baking experience smooth, having the right tools on hand is essential. You’ll need some basic kitchen equipment to get started.
Essential Tools and Equipment
- Cupcake pan
- Cupcake liners
- Mixing bowls
- Hand mixer or stand mixer
- Spatula
- Measuring cups and spoons
Importance of Each Tool
- Cupcake Pan: This is crucial for shaping your mini cheesecakes perfectly.
- Hand Mixer or Stand Mixer: Ensures a smooth batter by thoroughly combining ingredients without lumps.
- Spatula: Helps in scraping down the sides of bowls for an even mix.
Ingredients
For the Crust
- 1 cup (134g) vanilla wafer cookie crumbs
- 2 tbsp (26g) sugar
- 4 tbsp (56g) butter, melted
For the Cheesecake Filling
- 12 ounces (339g) cream cheese, room temperature
- 1/2 cup (104g) sugar
- 3 tbsp (24g) flour
- 1/2 cup (115g) sour cream
- 1 1/2 tsp vanilla extract
- 2 eggs
- Blue gel icing color
- Red gel icing color
For the Topping
- 1/2 cup (120ml) heavy whipping cream, cold
- 5 tbsp (36g) powdered sugar
- 1/2 tsp vanilla extract
- Sprinkles
How to Make Red, White and Blue Mini Cheesecakes
Step 1: Preheat the Oven
Preheat your oven to 325°F (162°C). Place cupcake liners into a cupcake pan to prepare for the crust.
Step 2: Prepare the Crust
- In a mixing bowl, combine the vanilla wafer cookie crumbs, sugar, and melted butter.
- Divide this mixture evenly between the cupcake liners (about 2 tablespoons per liner).
- Press down firmly to form the crusts.
Step 3: Bake the Crusts
Bake in the preheated oven for 5 minutes. Once done, remove from the oven and allow them to cool while you prepare the filling.
Step 4: Make the Filling
Reduce the oven temperature to 300°F (148°C). In a large bowl:
* Mix together cream cheese, sugar, and flour until well combined using low speed on your mixer. This helps prevent air pockets that can cause cracks.
* Scrape down the bowl’s sides as needed.
Step 5: Add Remaining Ingredients
Add sour cream and vanilla extract; beat on low speed until everything is well blended.
Step 6: Incorporate Eggs
Add eggs one at a time:
1. Beat slowly after each addition.
2. Ensure you scrape down the sides of the bowl after each egg.
Step 7: Color the Batter
Divide your cheesecake batter into three bowls:
* Leave one bowl plain (white).
* Color one bowl with red gel icing color and another with blue gel icing color.
Step 8: Layering Colors
Layer colored batters into each crust:
1. Start with a tablespoon of white batter in each cup.
2. Follow with a tablespoon of red batter.
3. Finish with a tablespoon of blue batter. Fill each cup mostly full.
Step 9: Bake Cheesecakes
Bake for 18–20 minutes. After baking:
1. Turn off the oven but keep the door closed for another 10 minutes.
2. Crack open the oven door slightly and let them cool for about 15–20 minutes before transferring to refrigeration.
Step 10: Cool Down
Once cooled completely, remove cheesecakes from their pan carefully.
Step 11: Whip Cream Topping
In a separate mixing bowl:
* Combine heavy whipping cream, powdered sugar, and vanilla extract.
* Whip on high speed until stiff peaks form.
Step 12: Decorate
Pipe whipped cream onto each cheesecake top generously. Add sprinkles as desired for extra festive flair.
Step 13: Refrigerate
Store your decorated mini cheesecakes in an airtight container in the fridge until ready to serve. They taste best within 2–3 days!
With these easy steps, you’re all set to enjoy delicious Red, White and Blue Mini Cheesecakes that will be a hit at any celebration!
How to Serve Red, White and Blue Mini Cheesecakes
These delightful Red, White and Blue Mini Cheesecakes are perfect for any festive occasion. Here are some creative serving suggestions to make your presentation as exciting as the flavors.
Individual Dessert Cups
- Use clear plastic cups to serve each mini cheesecake. This allows guests to see the beautiful layers of red, white, and blue.
Fresh Berries
- Add a handful of fresh strawberries or blueberries on top of each cheesecake for an extra burst of color and flavor.
Whipped Cream Clouds
- Serve with an extra dollop of whipped cream on top for a light and fluffy finish that complements the cheesecakes perfectly.
Festive Plates
- Use themed plates or napkins that align with your celebration’s colors. This adds a fun touch to your dessert table.
Garnish with Mint
- Place a sprig of fresh mint on each cheesecake for a pop of green that enhances both the look and flavor.
Mini Flags
- Top each cheesecake with tiny flags to add a festive look, perfect for patriotic holidays like the Fourth of July.
How to Perfect Red, White and Blue Mini Cheesecakes
Creating the ideal Red, White and Blue Mini Cheesecakes requires some attention to detail. Here are essential tips for achieving perfection.
- Room Temperature Ingredients: Always use room temperature cream cheese for a smooth filling without lumps.
- Avoid Overmixing: Mix the batter gently to prevent incorporating too much air, which can cause cracks during baking.
- Layer Carefully: When layering colored batters, pour slowly to maintain distinct layers for that eye-catching look.
- Cool Gradually: Allow cheesecakes to cool in the oven after baking; this helps prevent them from cracking as they cool down.
- Chill Before Serving: Refrigerate the cheesecakes before serving. Chilling helps enhance flavors and firm up the texture.
- Use Gel Colors Sparingly: A little goes a long way with gel icing colors; start with small amounts and adjust until you reach your desired hue.
Best Side Dishes for Red, White and Blue Mini Cheesecakes
Pairing side dishes with your Red, White and Blue Mini Cheesecakes can elevate your dessert experience. Here are some great options to consider:
- Fruit Salad: A mix of seasonal fruits adds freshness and balances the sweetness of the cheesecakes.
- Cheese Platter: Offer a selection of cheeses such as brie or gouda for a savory contrast that complements desserts.
- Pasta Salad: A light pasta salad with veggies provides a colorful addition that’s refreshing alongside sweet treats.
- Veggie Platter: Crisp vegetables served with hummus create a healthy option that contrasts nicely with rich desserts.
- Granola Parfait: Layered yogurt with granola offers a crunchy texture that pairs well with creamy cheesecakes.
- Chocolate-Covered Strawberries: These sweet bites add elegance and chocolatey flavor that many will enjoy.
- Lemonade Pitcher: Refreshing lemonade served in a pitcher keeps guests cool while enjoying their desserts.
- Ice Cream Sundae Bar: Set up an ice cream bar where guests can create their own sundaes using various toppings.
Common Mistakes to Avoid
Making Red, White and Blue Mini Cheesecakes is fun, but there are some common mistakes to watch out for.
- Overmixing the batter: Overmixing can introduce too much air into the filling, causing cracks. Mix just until combined to keep it smooth.
- Skipping room temperature ingredients: Using cold cream cheese or eggs can lead to a lumpy batter. Let them sit out for about 30 minutes before mixing.
- Not cooling properly: Rushing the cooling process can cause cheesecakes to deflate. Allow them to cool gradually in the oven before refrigerating.
- Improper measuring of ingredients: Accurately measuring ingredients like flour and sugar is crucial. Use a kitchen scale or measuring cups for best results.
- Neglecting the crust: A crust without enough butter will be crumbly. Ensure you have the right amount of melted butter mixed well with cookie crumbs.
Storage & Reheating Instructions
Refrigerator Storage
- Store in an airtight container to keep them fresh.
- They can last up to 3 days in the refrigerator.
Freezing Red, White and Blue Mini Cheesecakes
- Wrap each cheesecake individually in plastic wrap before placing them in a freezer-safe container.
- They are best if consumed within 2 months of freezing.
Reheating Red, White and Blue Mini Cheesecakes
- Oven: Preheat your oven to 350°F (175°C) and heat for about 10-15 minutes until warm.
- Microwave: Heat on medium power for about 10-15 seconds per cheesecake. Check frequently to avoid overheating.
- Stovetop: This method is not recommended as it may alter the texture of the cheesecake.
Frequently Asked Questions
Here are some common questions about making Red, White and Blue Mini Cheesecakes.
Can I use different colors for my mini cheesecakes?
Yes! Feel free to use any gel icing colors you like for a fun twist on these mini cheesecakes.
How do I prevent cracks in my Red, White and Blue Mini Cheesecakes?
To prevent cracks, mix your batter on low speed and avoid overmixing. Also, allow them to cool gradually in the oven after baking.
What can I use instead of heavy whipping cream?
You can substitute with coconut cream or a plant-based whipped topping if you’re looking for dairy alternatives.
How long do these mini cheesecakes need to set in the fridge?
They should set in the fridge for at least 4 hours before serving for the best texture.
Final Thoughts
These Red, White and Blue Mini Cheesecakes are not only visually appealing but also deliciously creamy. They are perfect for any festive occasion or summer gathering! You can customize them with different colors or toppings to suit your theme. Give this recipe a try; it’s sure to impress your guests!

Red, White and Blue Mini Cheesecakes
- Total Time: 45 minutes
- Yield: Approximately 12 servings 1x
Description
Indulge in the delightful layers of these Red, White and Blue Mini Cheesecakes, a perfect treat for festive celebrations like summer barbecues, picnics, or any occasion that calls for a sweet touch. These individual desserts feature a creamy cheesecake filling nestled atop a crunchy cookie crust, adorned with vibrant red and blue hues that create an eye-catching presentation. Easy to make and even easier to enjoy, these mini cheesecakes are sure to impress your guests while adding a splash of color to your dessert table. Serve them at your next gathering for a refreshing and tasty experience everyone will love!
Ingredients
- 1 cup (134g) vanilla wafer cookie crumbs
- 2 tbsp (26g) sugar
- 4 tbsp (56g) butter, melted
- 12 ounces (339g) cream cheese, room temperature
- 1/2 cup (104g) sugar
- 3 tbsp (24g) flour
- 1/2 cup (115g) sour cream
- 1 1/2 tsp vanilla extract
- 2 eggs
- Blue gel icing color
- Red gel icing color
- 1/2 cup (120ml) heavy whipping cream, cold
- 5 tbsp (36g) powdered sugar
- 1/2 tsp vanilla extract
- Sprinkles
Instructions
- Preheat oven to 325°F (162°C) and line a cupcake pan with liners.
- Combine cookie crumbs, sugar, and melted butter in a bowl; press into liners.
- Bake crusts for 5 minutes; cool.
- Lower oven to 300°F (148°C). Mix cream cheese, sugar, and flour until smooth.
- Add sour cream and vanilla; blend well. Incorporate eggs one at a time.
- Divide batter into three bowls: leave one plain, color one red, and one blue.
- Layer batters in each crust: white first, then red, then blue.
- Bake for 18–20 minutes; cool gradually in the oven.
- Whip cream with powdered sugar; top cheesecakes before serving.
- Prep Time: 20 minutes
- Cook Time: 25 minutes
- Category: Dessert
- Method: Baking
- Cuisine: American
Nutrition
- Serving Size: 1 serving
- Calories: 150
- Sugar: 12g
- Sodium: 100mg
- Fat: 10g
- Saturated Fat: 6g
- Unsaturated Fat: 3g
- Trans Fat: 0g
- Carbohydrates: 15g
- Fiber: 0g
- Protein: 2g
- Cholesterol: 45mg